The second option in the list is toggle slope defining.
Putting a roof in revit.
Want to create a sloped roof.
8 tips to create sloped roofs in revit 1 check define slope to create a sloped roof.
In the option bar make sure define slope.
Select finish roof on the create roof footprint ribbon.
Sketch the new roof on top of the existing roof.
To do this go to architecture tab roof dropdown roof by.
Your now have a flat roof.
In the option bar make sure defines slope is deactivated before drawing the boundary.
From flat roofs to fun free form roofs and everything in between hip gable mansard dutch hip combination and gambrel.
Open the 03 roof floor plan.
On the draw panel click line.
On the options bar verify that defines slope is selected.
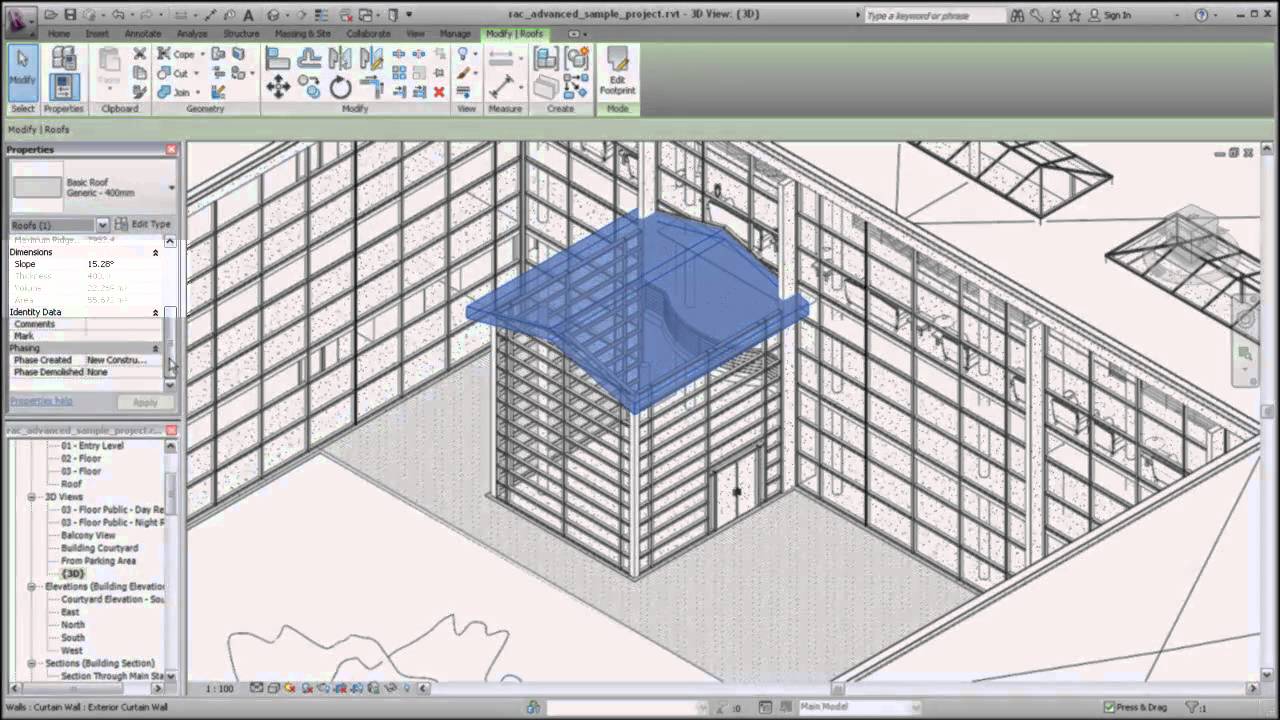
Click on a roof and change the angle in the slope properties.
This course covers the topic of adding roofs roof framing and detailing with revit.
Want to create a flat roof.
Eric wing dives into flat roofs first showing how to pitch insulation to roof drains add crickets and warp roofs to fit sloped framing.
This option turns off the roof slope extrusion for the line.
Select toggle slope defining for each line of the roof outline.
First we need to navigate to the roof by extrusion tool.
3 modify each.
Once you are in roof by extrusion a dialogue window will open.
Click architecture tab roof drop down roof by footprint.
2 modify properties to adjust roof slope.
This will prompt you to select a reference plane.
Add a roof to another roof to cut off a roof in order to sketch another roof on top of it select the roof in the drawing area.
Draw a roof line.
2 activate slope to create a sloped roof.
On the properties palette specify a cutoff level and then specify a height for cutoff offset.
You can use any.