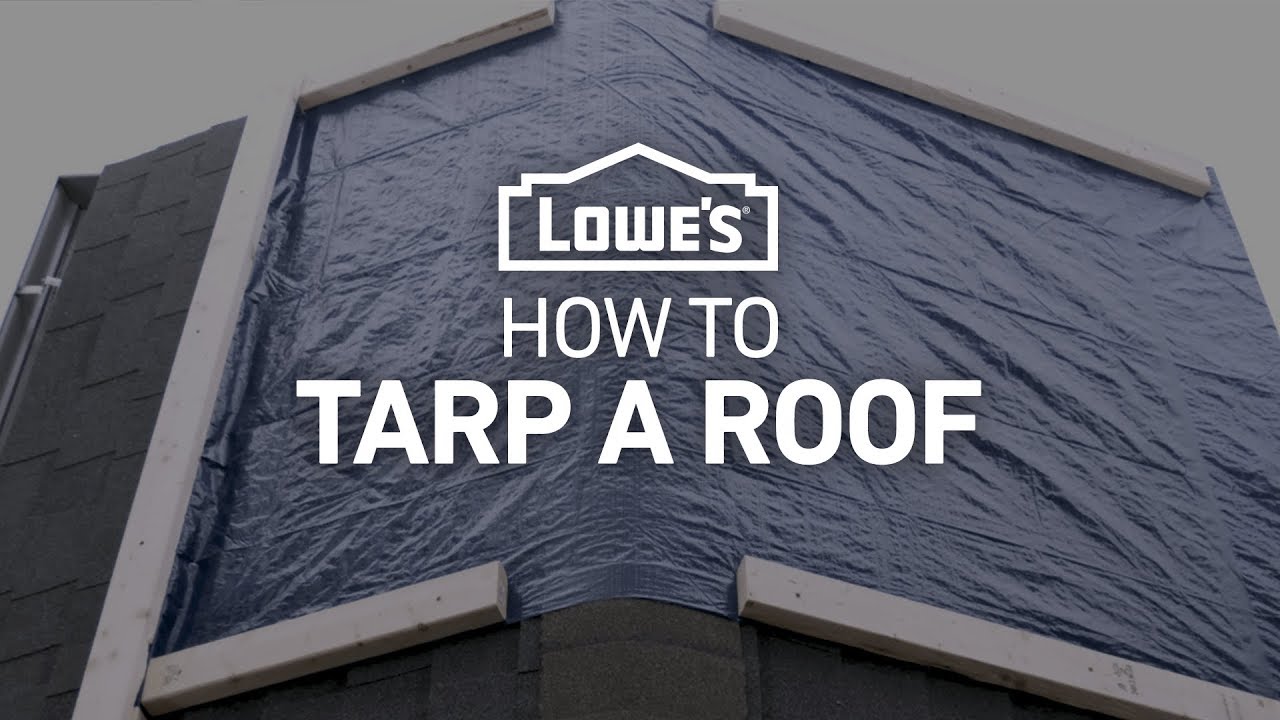
Sandwich the tarp by nailing a second 2 x 4 board to.
Quick diy pitched roof with tarps.
Using more 2 x 4 s nail down the tarp s sides.
Don t forget to secure the strapping used in step 4.
Unfold the tarp on the roof.
Lay the tarp out flat over the roof.
Partially unroll your tarp to cover the damaged area from the roof s eaves to peak.
The 2 by 4 should be about 2 feet longer than the tarp width.
Create an anchor board by rolling the tarp s peak end with a 2 x 4 inch board and nailing the tarp to your board with.
Place the sandwiched tarp along the eaves line and stretch the rest of the tarp goes over the ridge and down the other side of the roof.
Screw the 2 by 4 directly into the roof to secure it.
Try to pick a day that is not windy or else you may face frustration because as soon as you open the tarp up there it will start blowing all over the place.
If you have a helper this part is easy.
Next on the peak side attach the tarp to the 2 by 4 using cap nails.
There should be an additional 4 feet.
There s a range of waterproof storm proof mildew resistant and uv stable roof tarps made from reinforced pvc materials.
Roll the opposite end of the tarp around another 2 x 4 and sandwich the tarp with a second 2 x 4 and nail it to the roof sheathing roll side down.
Never lay the tarp out during a storm.
Let the rest of the tarp hang off the lower border of the roof that overhangs the wall known as the eave.
Tarpfactory tarps are made to withstand any severe condition of any type of roof roofing system such as flat roof sloping roof clay tiled roof metal roof pitched roof asphalt shingle roof etc.
My gear list with purchase links.
Screw the roll side down either at the edge of the roof or to the fascia with a few screws pulling the tarp tight around the edges apply 1 3 strapping with deck screws every 8 to 12 making sure you have one within 2 to 3 of each edge.